
To set up a file share, the first thing you need is a storage account. Once the storage account is created, all you need to do is provide the name and the tier of the file share. In Exercise 6.1, you already saw how you can create a storage account. If you haven’t deleted the storage account that you created earlier, then you can reuse it. Otherwise, go ahead and create a new General Purpose v2 storage account.
Once you navigate to File Shares under Data Storage in the Storage Account, you will see File Share Settings (refer to Figure 6.13). The following are the preferences available:
Active Directory For setting up authentication using on-premises AD or Active Directory Domain Services.
Soft Delete Enables you to retain the deleted shares for a specified period of time. Once you click 7 days, as shown in Figure 6.13, you will get a slider to choose from 7 days to 365 days. Also, you can disable the soft delete option if you don’t need it.
Maximum Capacity The default value for this is 5 TB and can be increased to 100 TB.

FIGURE 6.13 Setting up a file share
If you take a closer look at Figure 6.13, you can see at the top there is an option to add a new file share denoted by + File share. Upon clicking this option, you will be presented with an option to add the name and tier as shown in Figure 6.14. You can confirm the creation by clicking the Create button.
There are four tiers offered by file shares.
- Transaction Optimized: This is the default option. It’s ideal for most scenarios where you need a file share as a data store.
- Premium: Premium file shares are backed up by SSDs, and this option will be available only if your storage account is a Premium storage account. For a Standard storage account, this option will be grayed out.
- Hot: This is optimized for general-purpose file shares such Azure File Sync and team shares.
- Cool: This is ideal for archiving scenarios.
You can always edit the quota of the file share once it’s created. Since you created the file share with a 5 TB size, then the default quota value will be 5120 GB. The Edit Quota option will be available on the Overview blade of the file share (refer to Figure 6.14).
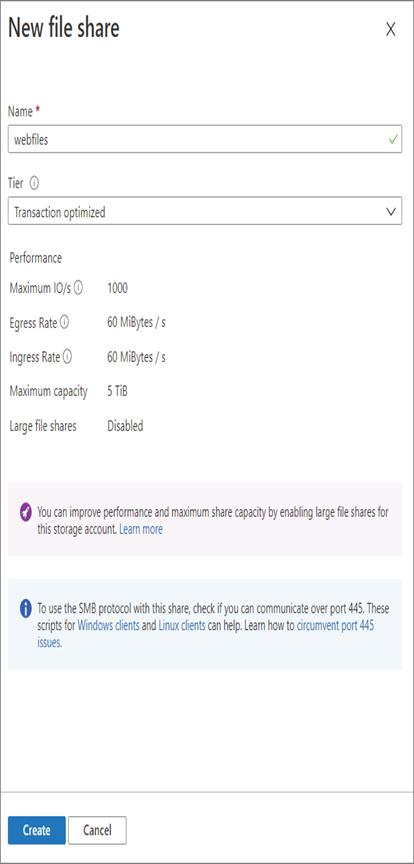
FIGURE 6.14 Creating a file share
It’s important to make sure that port 445 is open in Windows and Linux machines before you mount the file shares. If the file share is going to be consumed by Azure virtual machines, make sure you open TCP 445 in your NSG.